
Residential Garage Door Repair – Step-by-step
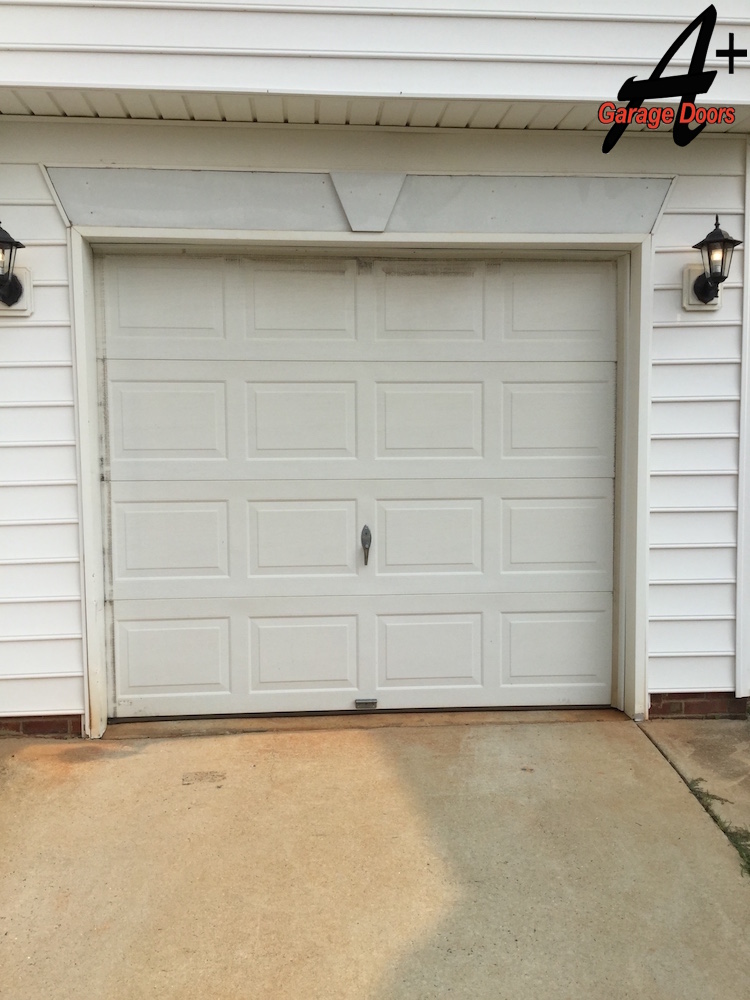
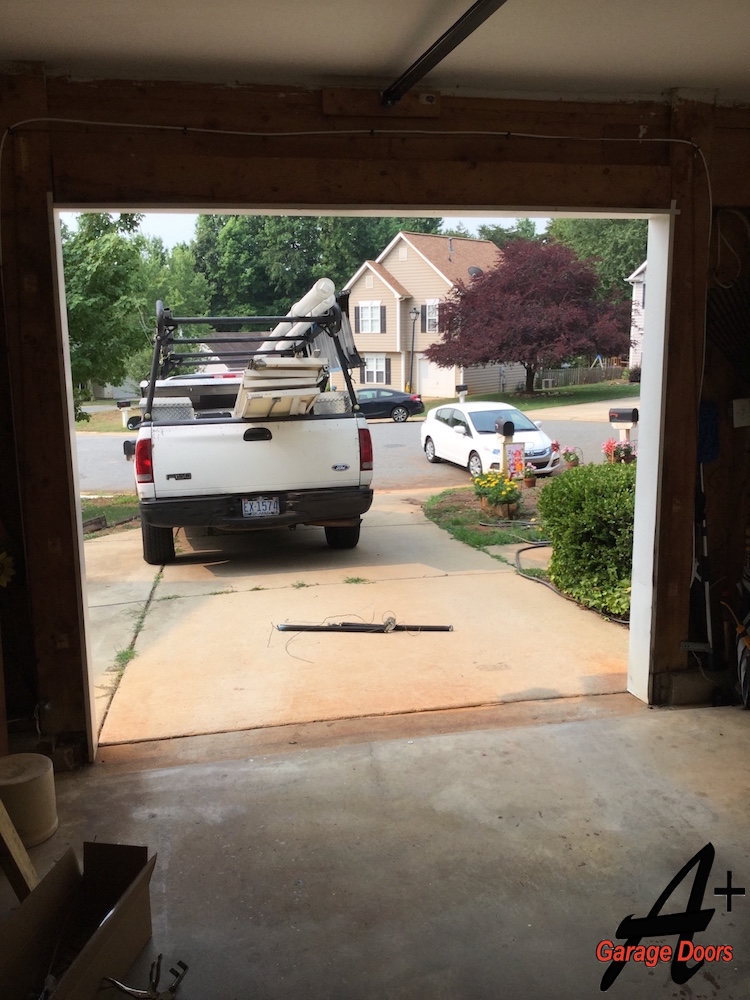
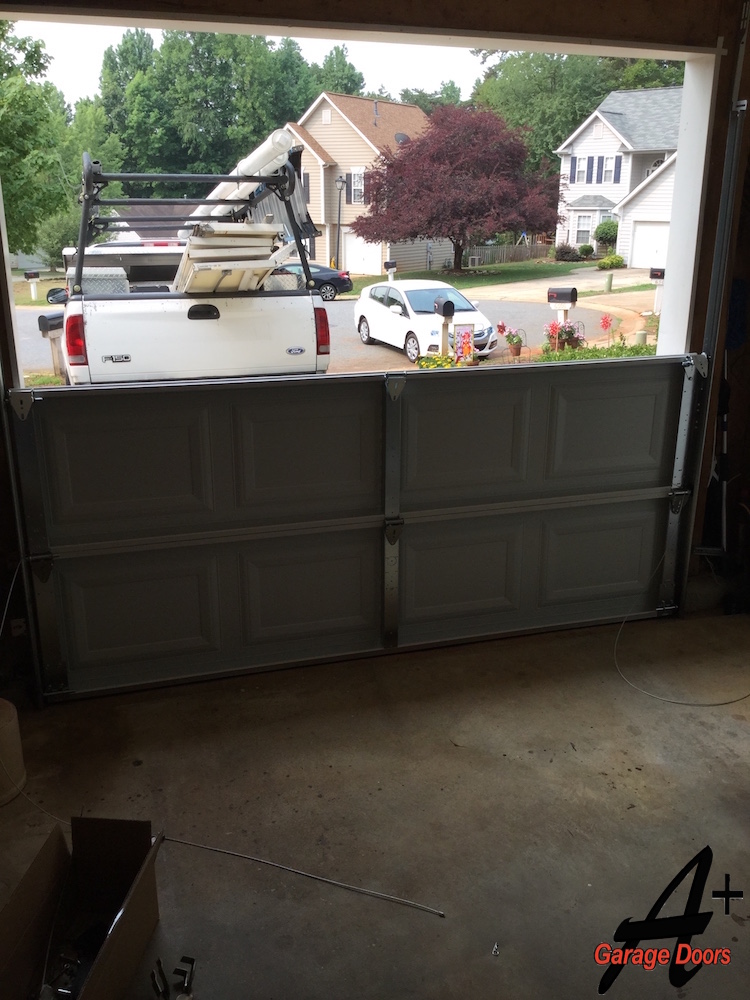
Here’s a before picture of a Residential Garage Door in Charlotte North Carolina. A Plus Garage Doors was called out to this job site because the door had stopped working – we quickly discovered that the opener had died due to age, and that the cables, rollers, and track had been damaged inside the garage. Although the door looks pretty normal from the outside, the homeowner was unable to leave her garage!
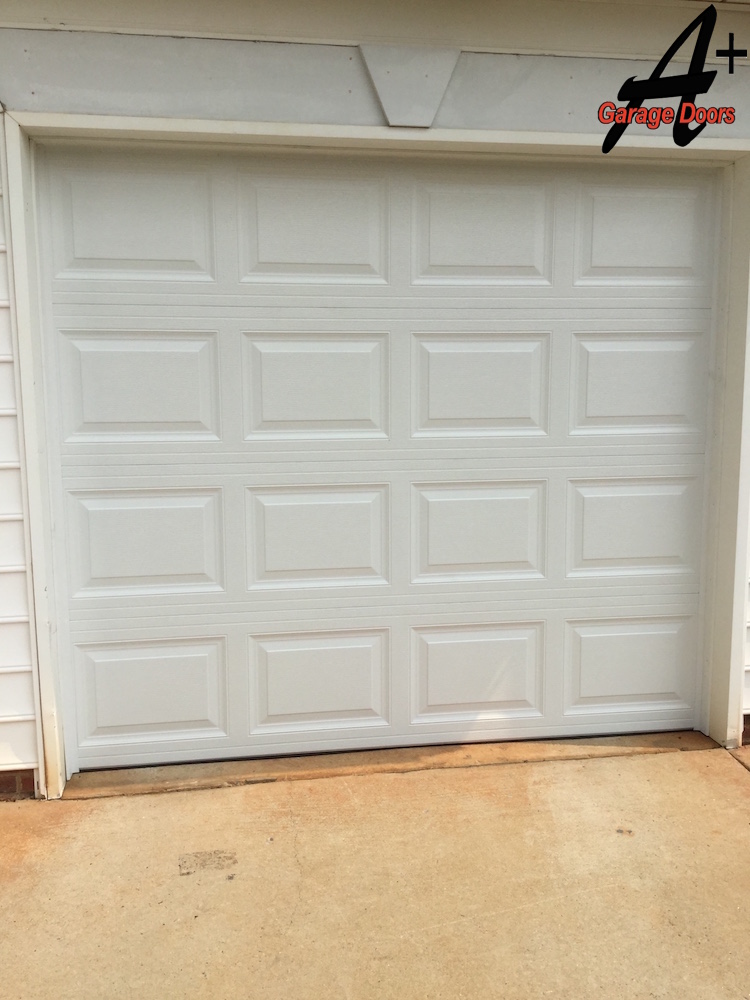
Here’s the same home after we installed a new residential garage door. With newer hardware and panels, this door will last longer, operate more quietly, and be significantly safer for the homeowner’s use. The rest of this page will demonstrate the step-by-step process that A Plus uses whenever we’re replacing a residential garage door, so that you can see for yourself the sort of work that we do on our jobs.
Removing the Damaged Door
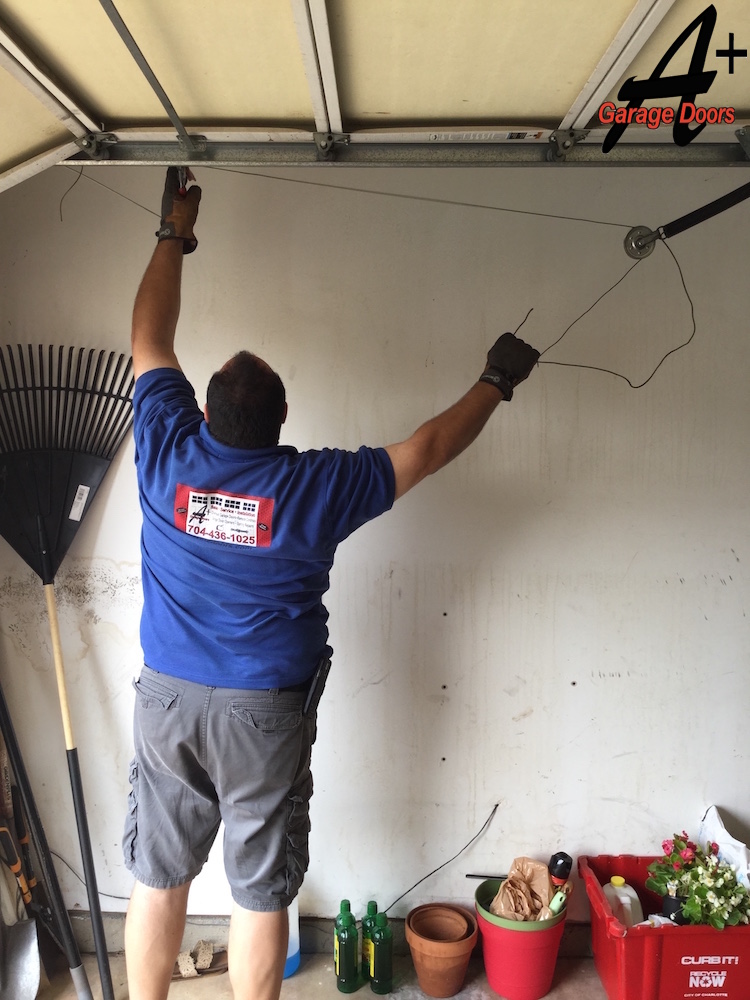
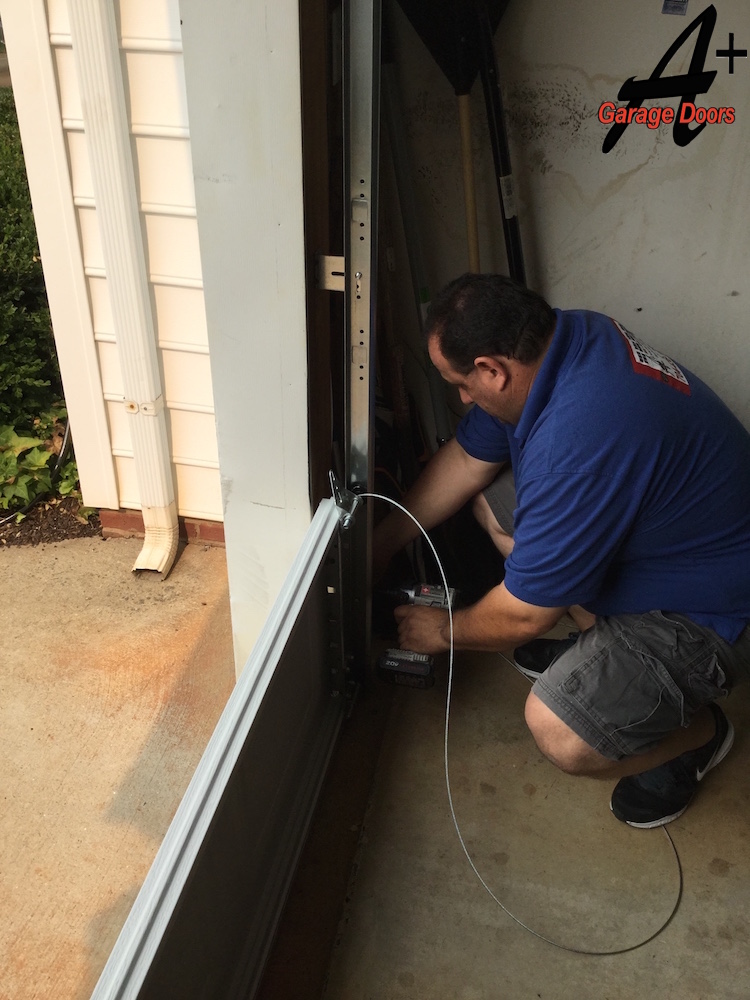
Jimmy removes the cables that run from the door’s bottom brackets to the cable drums on either top corner of the door. These cables are wound around the drums when the door is raised, and they lift the door during standard operations. They have to be removed carefully because they bear the weight of the door, and are under enormous amounts of tension. At this point, the door has already been separated from the lift assembly so Jimmy is able to cut and remove the cables without danger.

Next, Jimmy removes the garage door’s panels one at a time, starting at the top. The panels are made to be individually installed and removed, because maneuvering the entire door at once would be prohibitively heavy and awkward. Once the door’s lift assembly is removed, taking out each panel is an easy process.
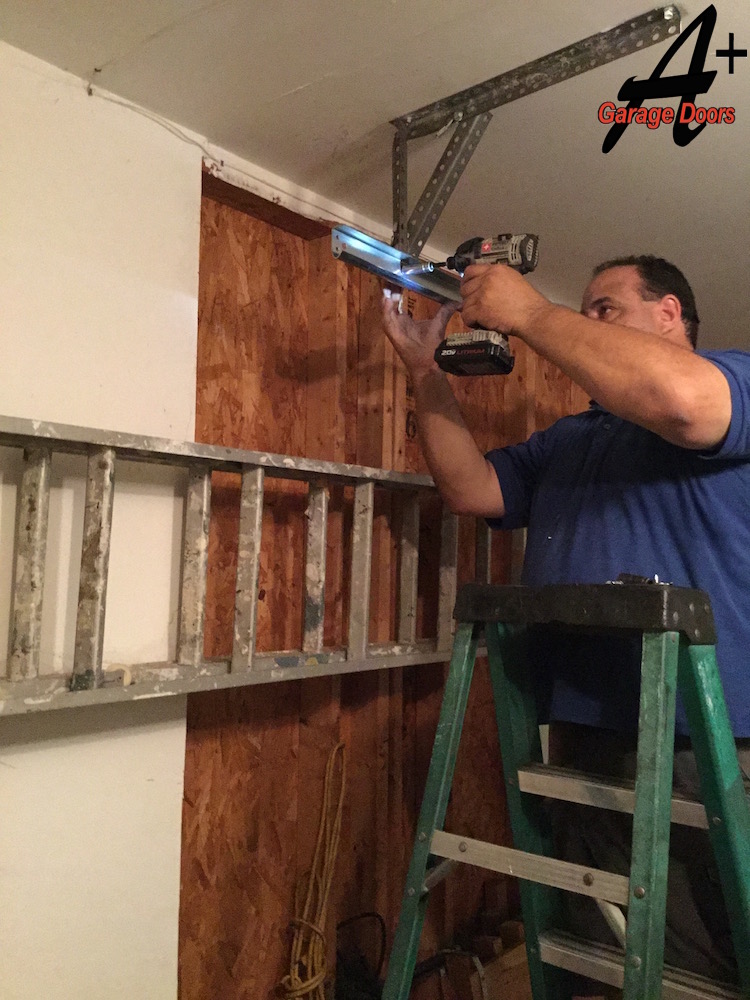
The spring assembly has already been removed from the wall, so now Jimmy is removing the central mount from the door so that the track’s arm can be removed. The garage door opener is responsible for lifting any garage door, but the garage door opener’s motor is actually very low-powered, usually something like 1/2 or 1 horsepower. The track’s arm connects the chain of the motor to the door, and is centered to best guide the door up the tracks on the side.
Once the panels have been removed, the rails themselves can be taken down. The rails primarily serve to guide the door up and down, and the rollers fit snugly into them. Most of the noise that comes from a loud garage door comes from the rollers and track squeaking. If you want a quieter garage door, consider upgrading from metal rollers to nylon-coated rollers.
Installing a New Residential Garage Door
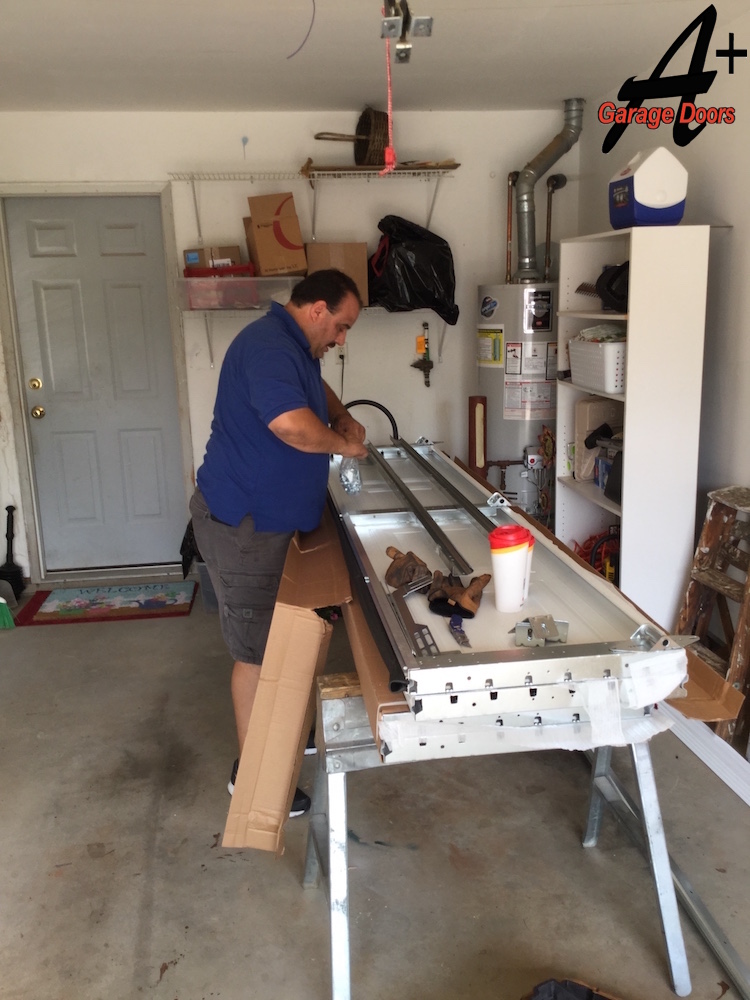
Garage Doors are transported and delivered as a rectangular package with all of the panels stacked on top of each other, and when we install a door we unwrap one panel at a time. This lets the rest of the panels stay protected and also keeps the workspace manageable.
Then, each of the other panels in the front face of the door are installed. These panels are the simplest to install because they sit flush with the bottom panel and don’t have an important role in the lifting of the door.
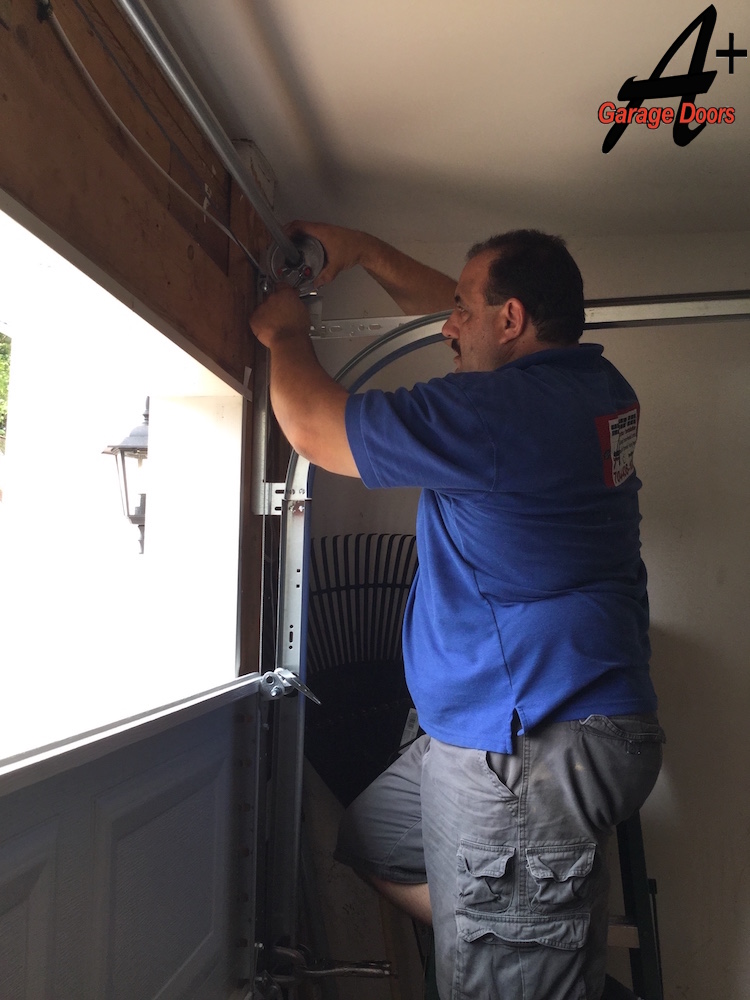
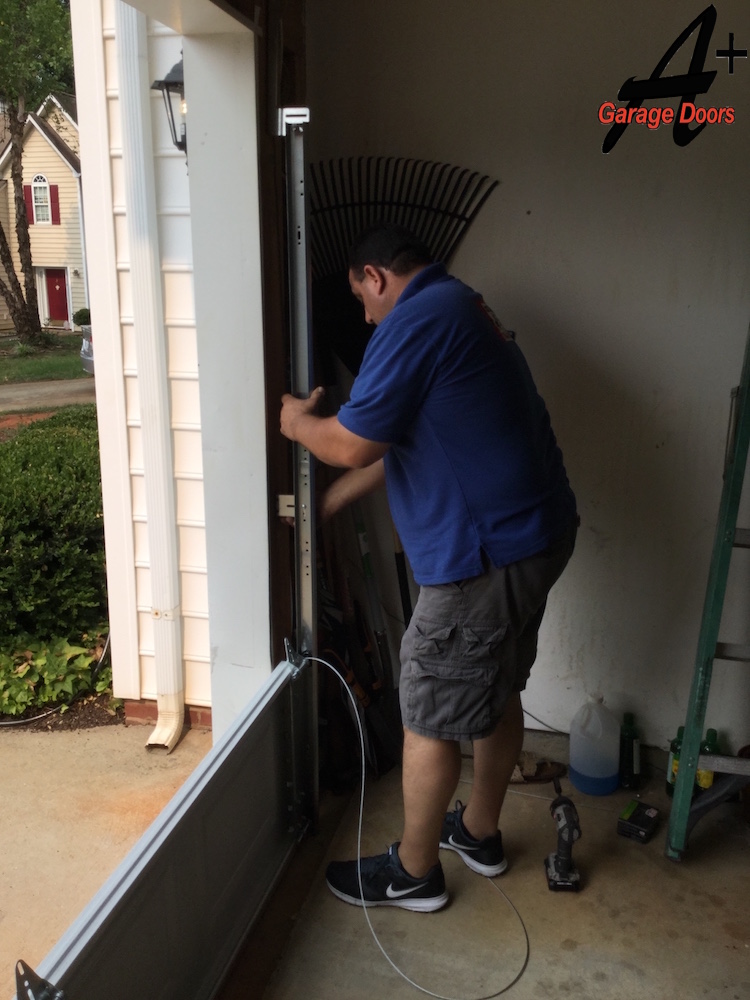
The bar at the top of the garage door does all of the (literal) heavy lifting. This shaft is connected to the wall with a bearing plate next to the spring, and connected to the door by the rollers on either side, which are connected to the bottom panel’s brackets by the cables. At this stage, Jimmy is installing the bar itself but hasn’t yet tightened the spring or the cables – those are the final steps, once the rest of the system is in place.
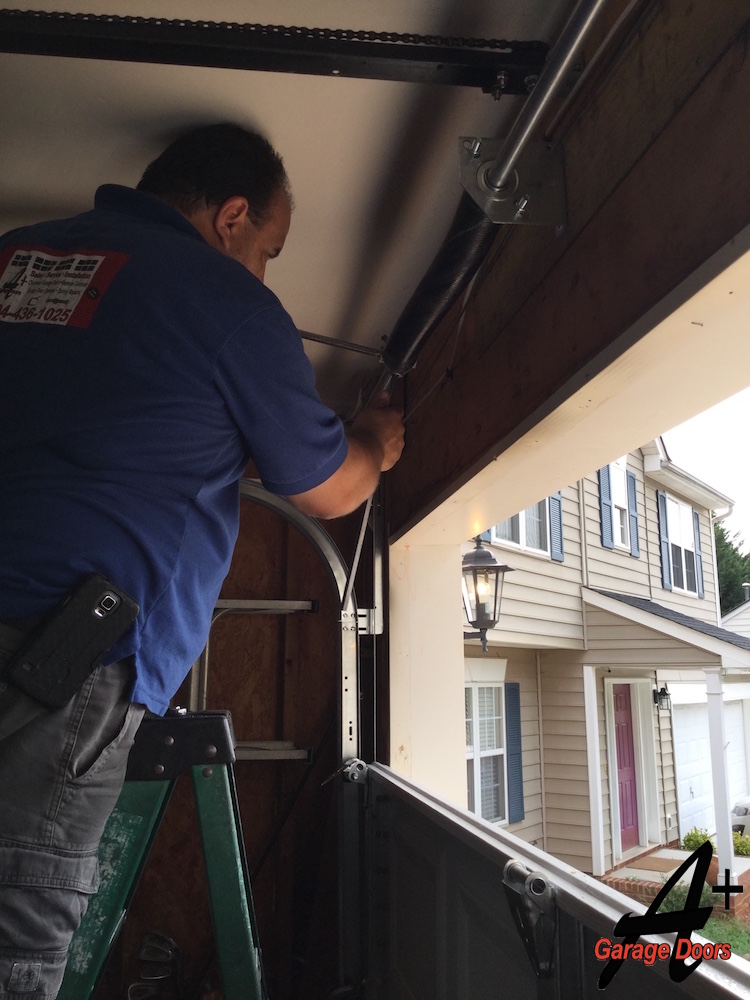
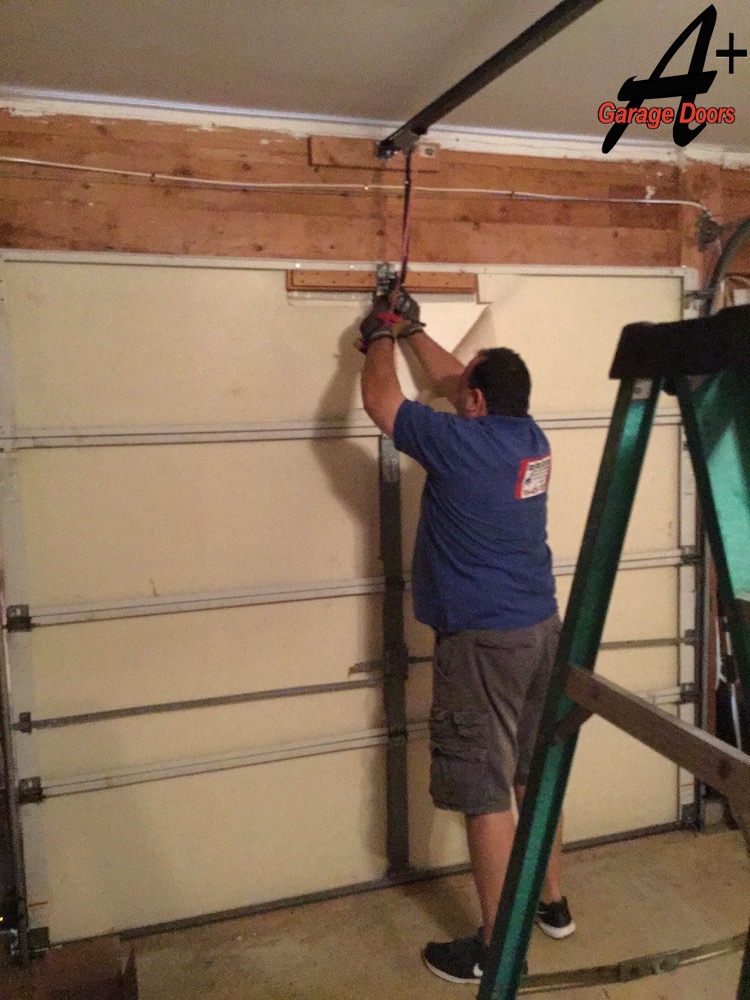
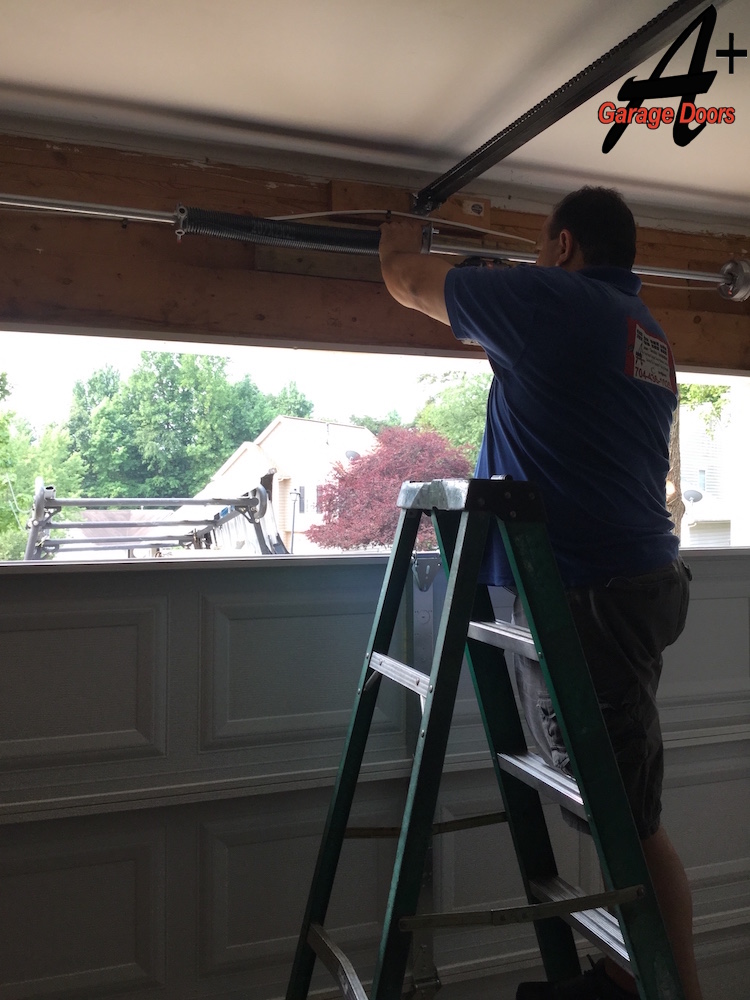
In this picture, you can see Jimmy tightening the spring, and the cable is visible in the background running up to the cable drum. These steps are the most dangerous parts of the installation process, because, the forces applied by the tension in the spring are very powerful.

The panels are installed in the opposite order that they were removed – from the bottom up. The first panel is installed in tandem with the bottom portion of the tracks. This step is important because it establishes where the rest of the door is going to sit.

The bottom panel’s brackets connect to the cables, but these middle panels only use brackets to keep them rolling straight in the track. We install them next, a fairly quick process.
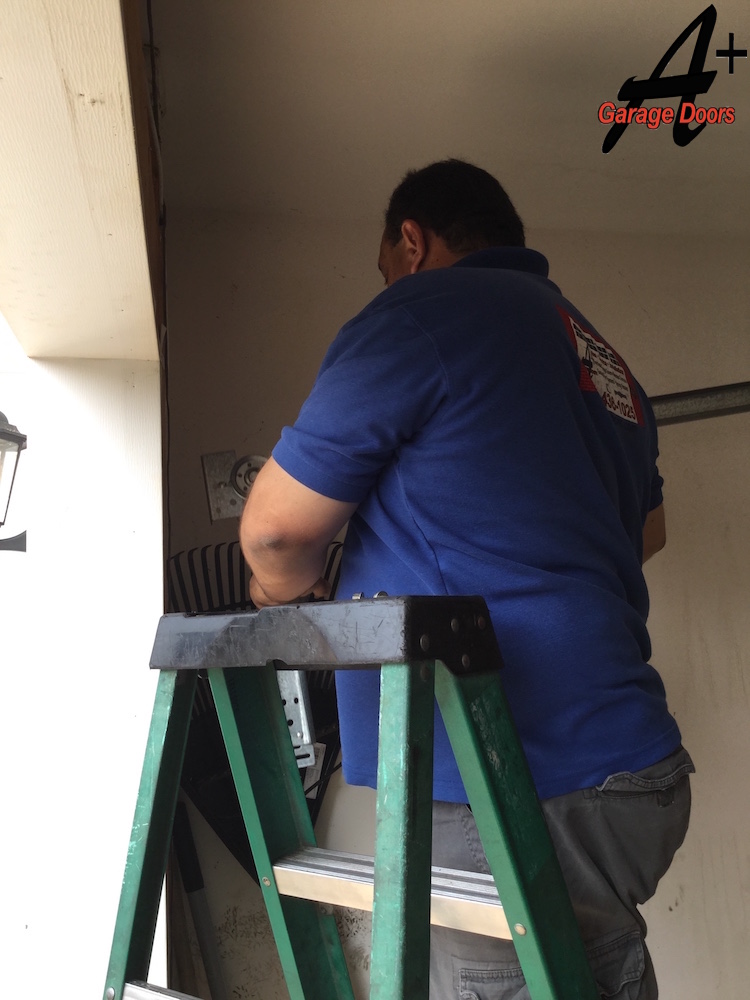
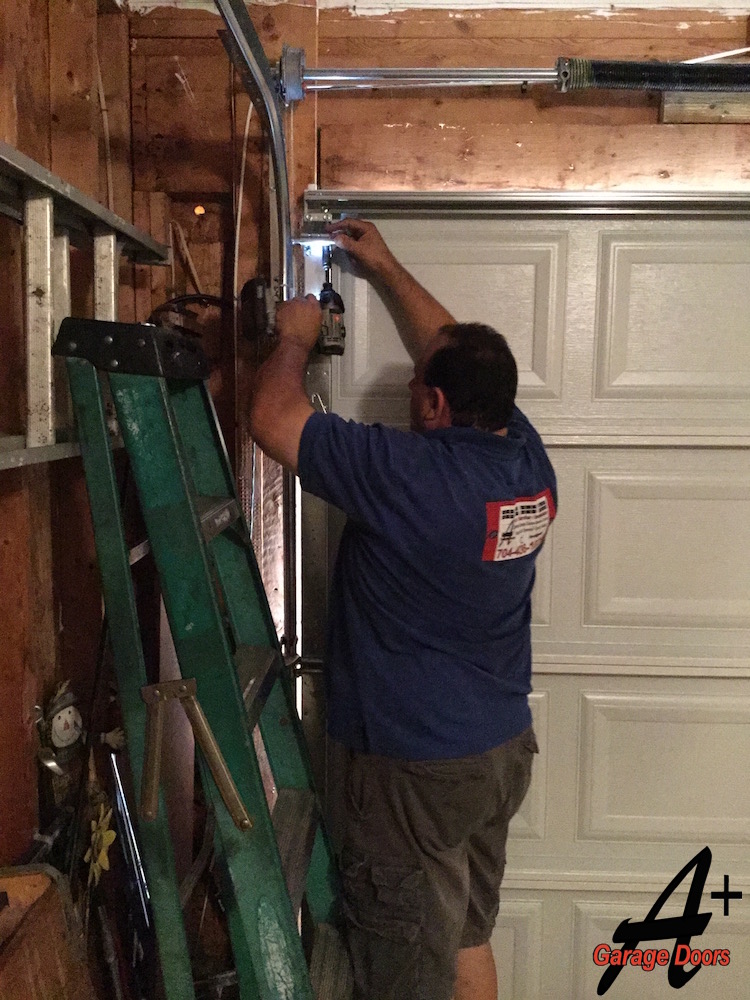
Here you can see Jimmy connecting the door to the wall with the bearing plate. This metal joint attaches the spring to the frame of the garage door and is one of the sturdiest parts of the assembly. Although it is rare, we sometimes see homes where the bearing plate has worn down separated from the wall, which can be incredibly dangerous! If you see any cracks or wear on your beating plates, call an expert to have it inspected immediately.
As the last panel is installed, the garage door is almost ready for operation! All that remains now is to connect this top panel to the panels stacked underneath it, to install and connect the electric garage door opener, and to connect the door to said opener!
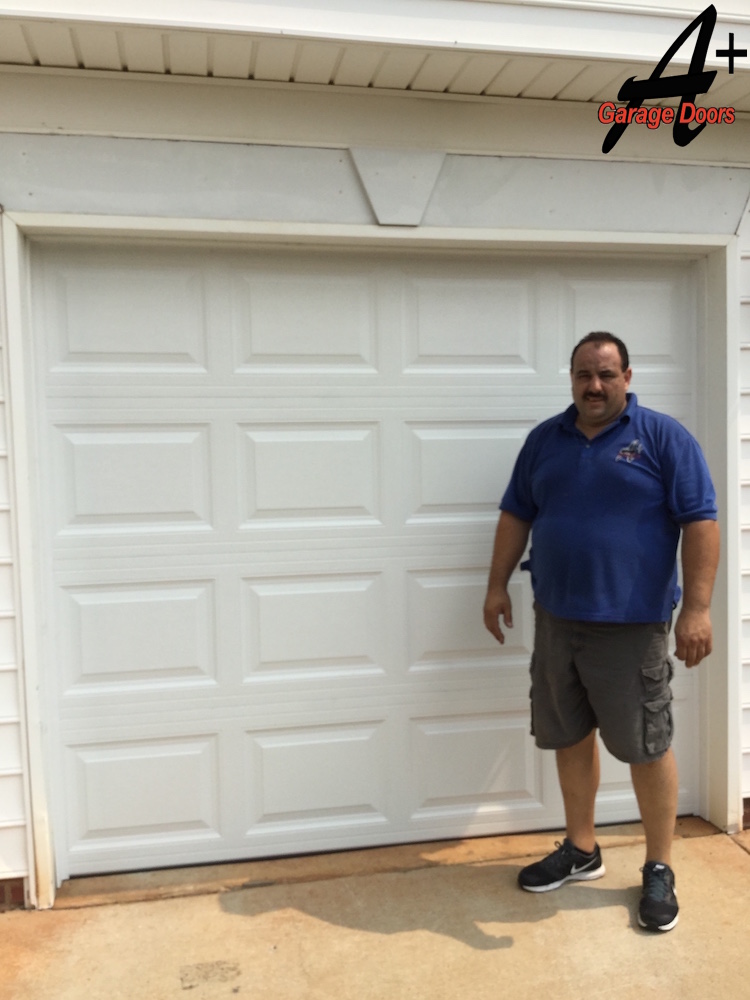
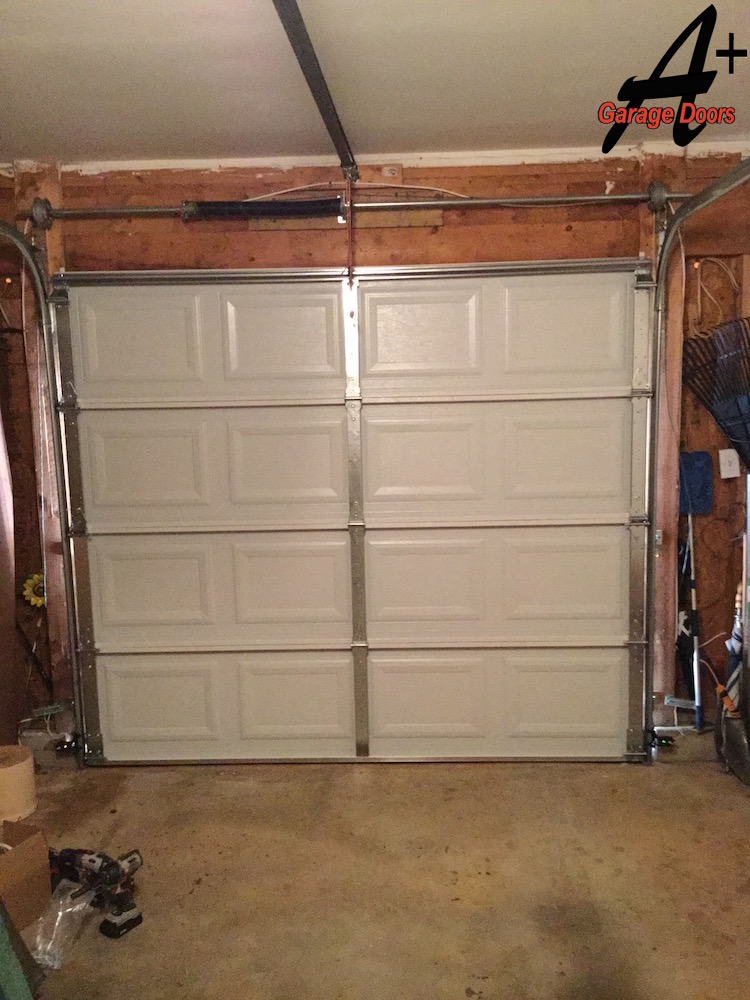
Here’s what the finished job looks like! A Plus Garage Doors came to this site in Charlotte, North Carolina and totally replaced this homeowner’s residential garage door. Now, she has a more modern door with better-quality hardware and a softer opener. Read more about the work we’ve done in Charlotte on our Charlotte Testimonials page.